
Today We are learning how to draw a camera starting with a simple rectangle! You will love these easy step-by-step instructions.
Let’s draw a camera, an old school camera, not the one in our phones. *Nostalgia* is the winner of this game.

Cameras have changed so much since they were first invented around 1816! So exciting and giant, they were big boxes that didn’t really have a lot of focus. We aren’t drawing that either…Let’s draw the “classic camera” black design and uses film. Fun!
Before getting started, let’s make sure we have the right supplies for starting our camera sketching today.
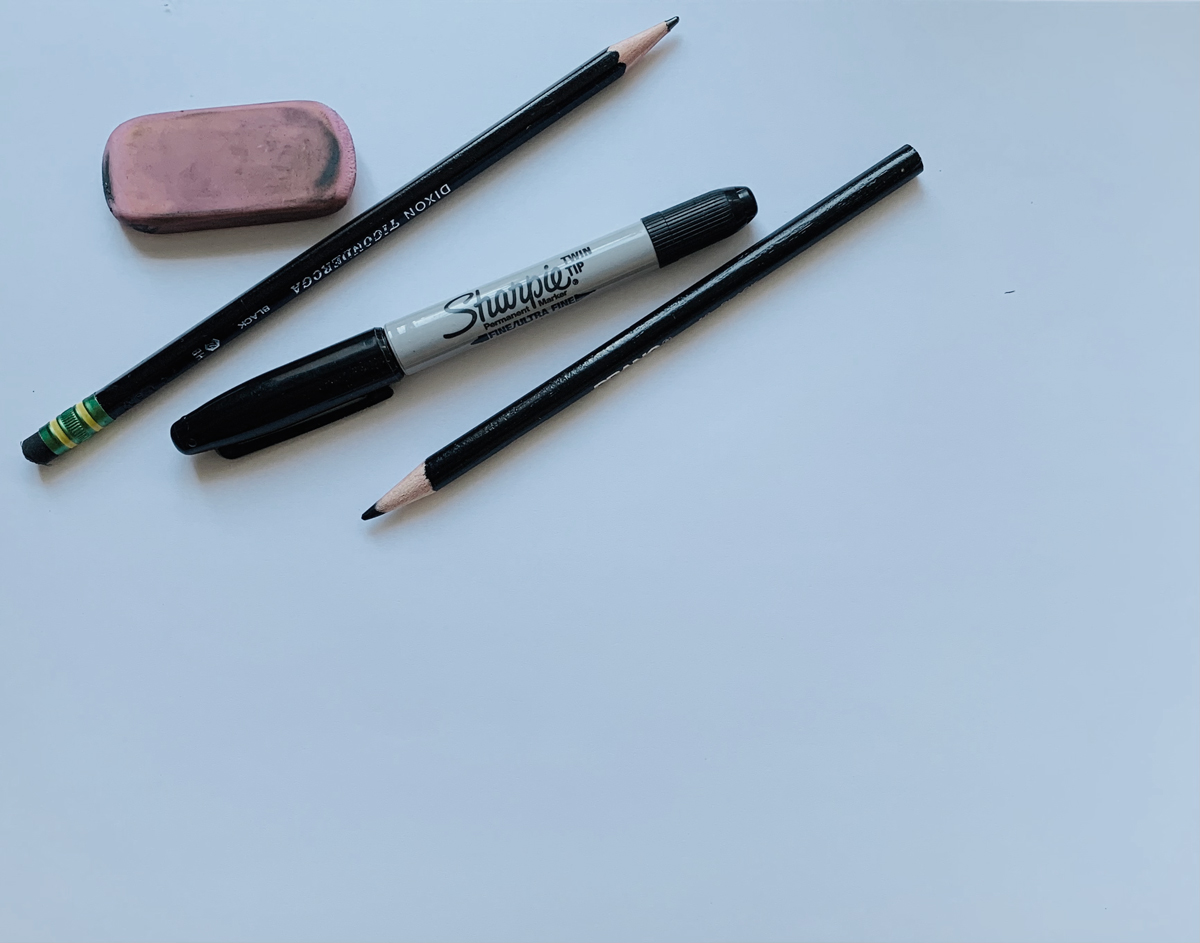
Supplies:
- Paper
- Pencil
- Eraser
- Black marker
- Crayons or colored pencils (or markers)
To get started:
Let’s make sure our paper is landscape, that means long like a train.
Artist tip: This is the first step every time; point to the middle of your paper with your finger. This will tell your eyes how much space you have to draw in. It does not have to be exact!

- Let’s draw! Starting with a rectangle, I made one almost the size of my paper.

- Next, put a circle in the middle-bottom of the rectangle. Circles can take a few tries. Draw light until you get it right!

- Add another circle inside that circle, just a little bit smaller. This will be the lens.

- Now, for some details:
- A rectangle, on the upper right side. This will be the flash.
- A rectangle on the upper left side, with another inside of it. This will be the viewfinder.
- Long thin rectangles on top, buttons.
- Hand rests on the lower sides
- Little button under the lens for changing lenses.
- Reflections in the lens and viewfinder, these are small crescent shapes.
- A line across the middle, just for decoration. (texture)

- Ok! Trace over all the pencil lines with the black marker.

- Color! This drawing really takes shape when we add color. Even though it’s just black, it adds more clues as to what our drawing is!
There you go! You’ve done it! A Camera!
Let’s see what else we can draw together…next time.