
Today we will be experimenting with how to draw a fish. There are many different kinds of fish, so we will start with a basic fish that can be drawn in 8 easy steps! A body, fins, eyes, mouth and fishy details (fins, scales, air bubbles), are all you need to create this look simply.
Fish can be many colors, some are brown with spots or stripes. Some have vibrant blues and greens… it is up to you what kind of fish you draw!
You could even do more after your first one and change them up, soon you’ll have a whole school of fish to hang on your gallery walls!
As we begin, notice that fish have a simple shape, like a football. Almost everything we could ever want to draw can be seen as simple shapes. We can always add to them as we go.

Supplies:
- Paper
- Pencil
- Eraser
- Crayons or colored pencils, or even water colors if you wanted to paint it.
- Black marker for outlines
Let’s get started:
First, let’s make sure our paper is landscape, that means sideways like a train.
Artist tip: point to the middle of your paper with your finger.
This will tell your eyes how much space you have to draw in. It does not have to be exact!

Drawing an easy fish body
1. Ok! Let’s draw! The first line is a gradual curve across the middle of the paper. Start on one side and go up then over. This will be the top of that football shape.
2. Draw another gradual curve, but this time it will curve down. It looks like a smile. These lines do not need to meet. This is the body of the fish.

3. Next, let’s add where we want the details to be. An oval for the eye, a wiggly “M” shape with extra bumps on top for the big (dorsal) fin. These next fins will be smaller: one on the body for swimming, and one underneath.

How To Draw a Fish Tail & Scales
4. Let’s add a tail. This shape looks like 2 wiggly triangles, one up and one down. These can be as fancy as you like.

5. Now, for the details. I added a s-t-r-e-t-c-h-e-d out “M” shape to separate the head from the body.
You can also add scales, if you like them. These are half oval shapes repeated.

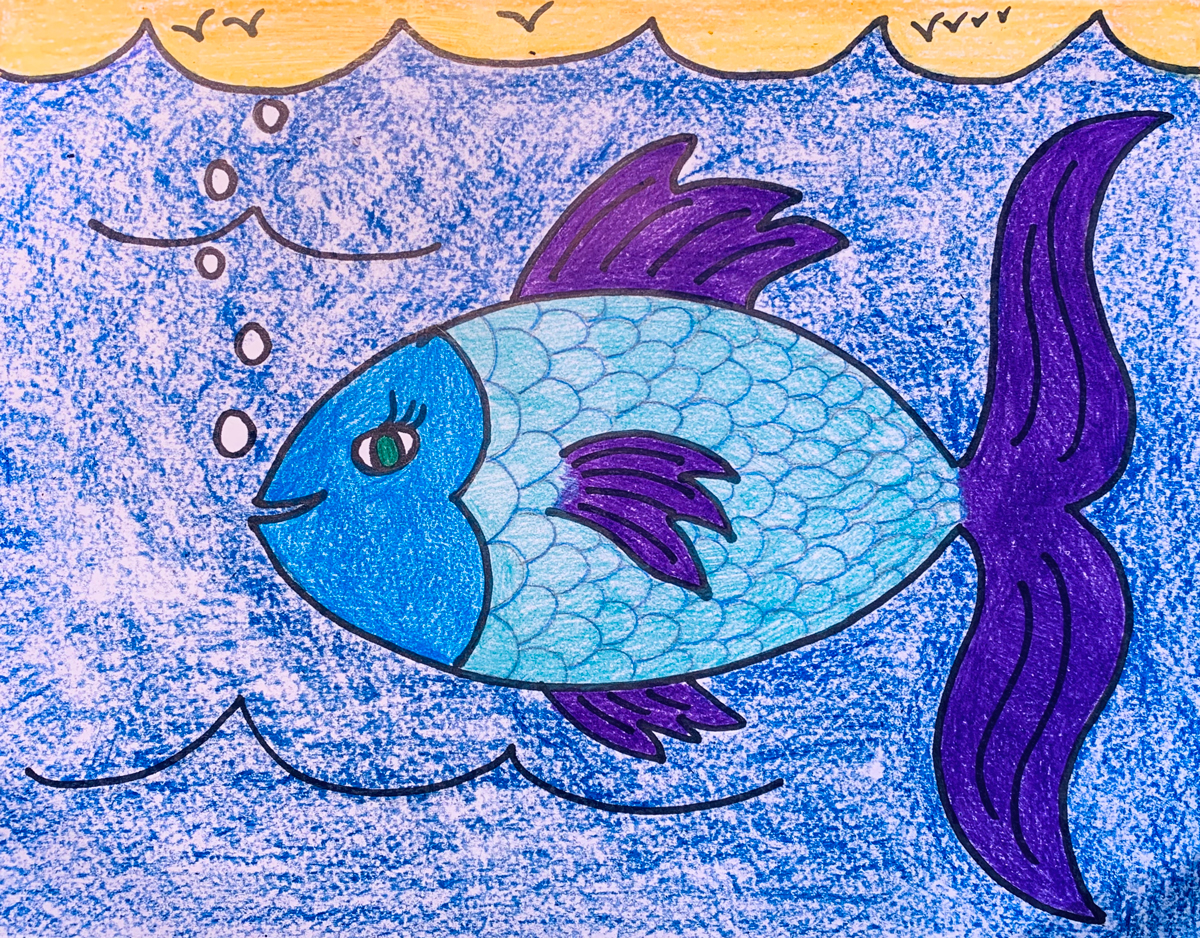
6. Don’t forget to add the background. It helps our drawing to look finished. I added a water line near the top of the page and waves around the fish. I also added a few air bubbles.

How to outline & color a fish
7. Next, outline the drawing with the black marker, this will help the drawing POP!

8. The BEST step: COLOR! As the artist you can choose any colors you like. Take your time and try not to leave white spaces. Don’t forget to color the background too!

As you go you can add in extra details, like I added seagulls flying over the water.
There you go! You’ve done it! A FISH!
Let’s see what other animals we can draw together…