
Inside: Simple Instructions for how to draw an hourglass in 8 steps.
Artist, today we are drawing an hourglass.
It is an ancient way of keeping time, yet we still use them now. Once intricately adorned, now we use them as timekeepers in board games, toothbrush timers, and other things.
Although we have clocks today, I still find that hourglasses are such a fun way to tell time. I mean sure, clocks are impressive, but you don’t get to visually see the timer run out in a satisfying way. Nope, all you get from a clock is Tick, Tick, Tick!
There are many amazingly intricate hourglasses out there, but today we are going to keep things light.
We will be drawing a simple version, but feel free to put your own spin on the end pieces.

Supplies You’ll Need:
These supplies are things you can most likely find around your house. Isn’t it so funny that you have all of the tools to make something just lying around? It’s like going into the kitchen with a craving for chocolate and finding out that you have all of the ingredients for a cake.
The cake was always there, waiting to be made! It’s the same with this hourglass. Go collect the tools and get creating!
- Paper
- Pencil
- Eraser
- Colored pencils or crayons, markers

How to Draw an Hourglass
Let’s get started:
Artist tip: point to the middle of your paper with your finger.
This will tell your eyes how much space you have to draw in.
It does not have to be exact! This time we are going to draw a dot there, lightly.
1. First, let’s make sure our paper is in the portrait position, which means tall like a tower.
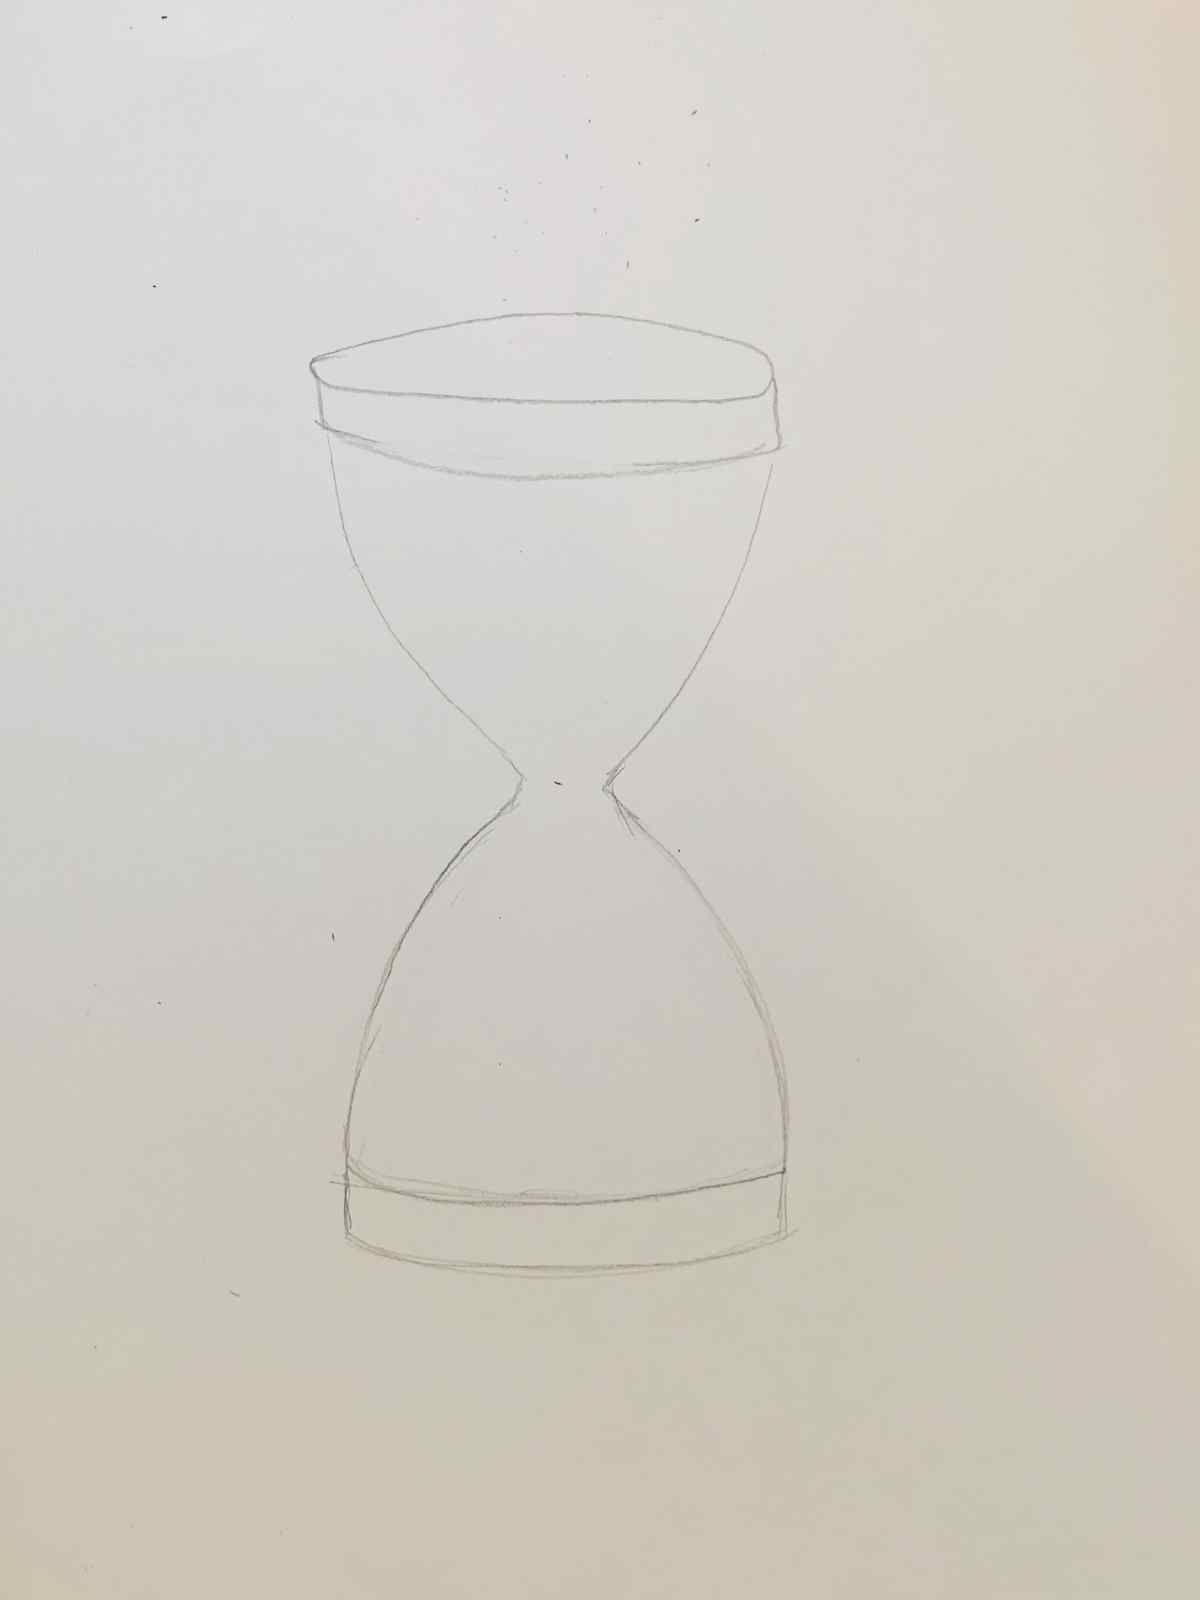
2. We are going to start with a flattened oval towards the top of the paper.

3. To expand this piece of the frame, draw 2 short lines down then add a curved line to join them.
The curve should echo the curve from the first oval.

4. Next, draw lines from the top area curved down *almost* to the dot we drew in the middle.
This dot will help us keep things even.

5. Now, draw the lines coming from the dotted area out and down. A mirror image of the top lines. Add curved lines at the bottom, making this area as thick as the top without the oval.
Draw lightly in case you need to erase it, I did. That’s ok!
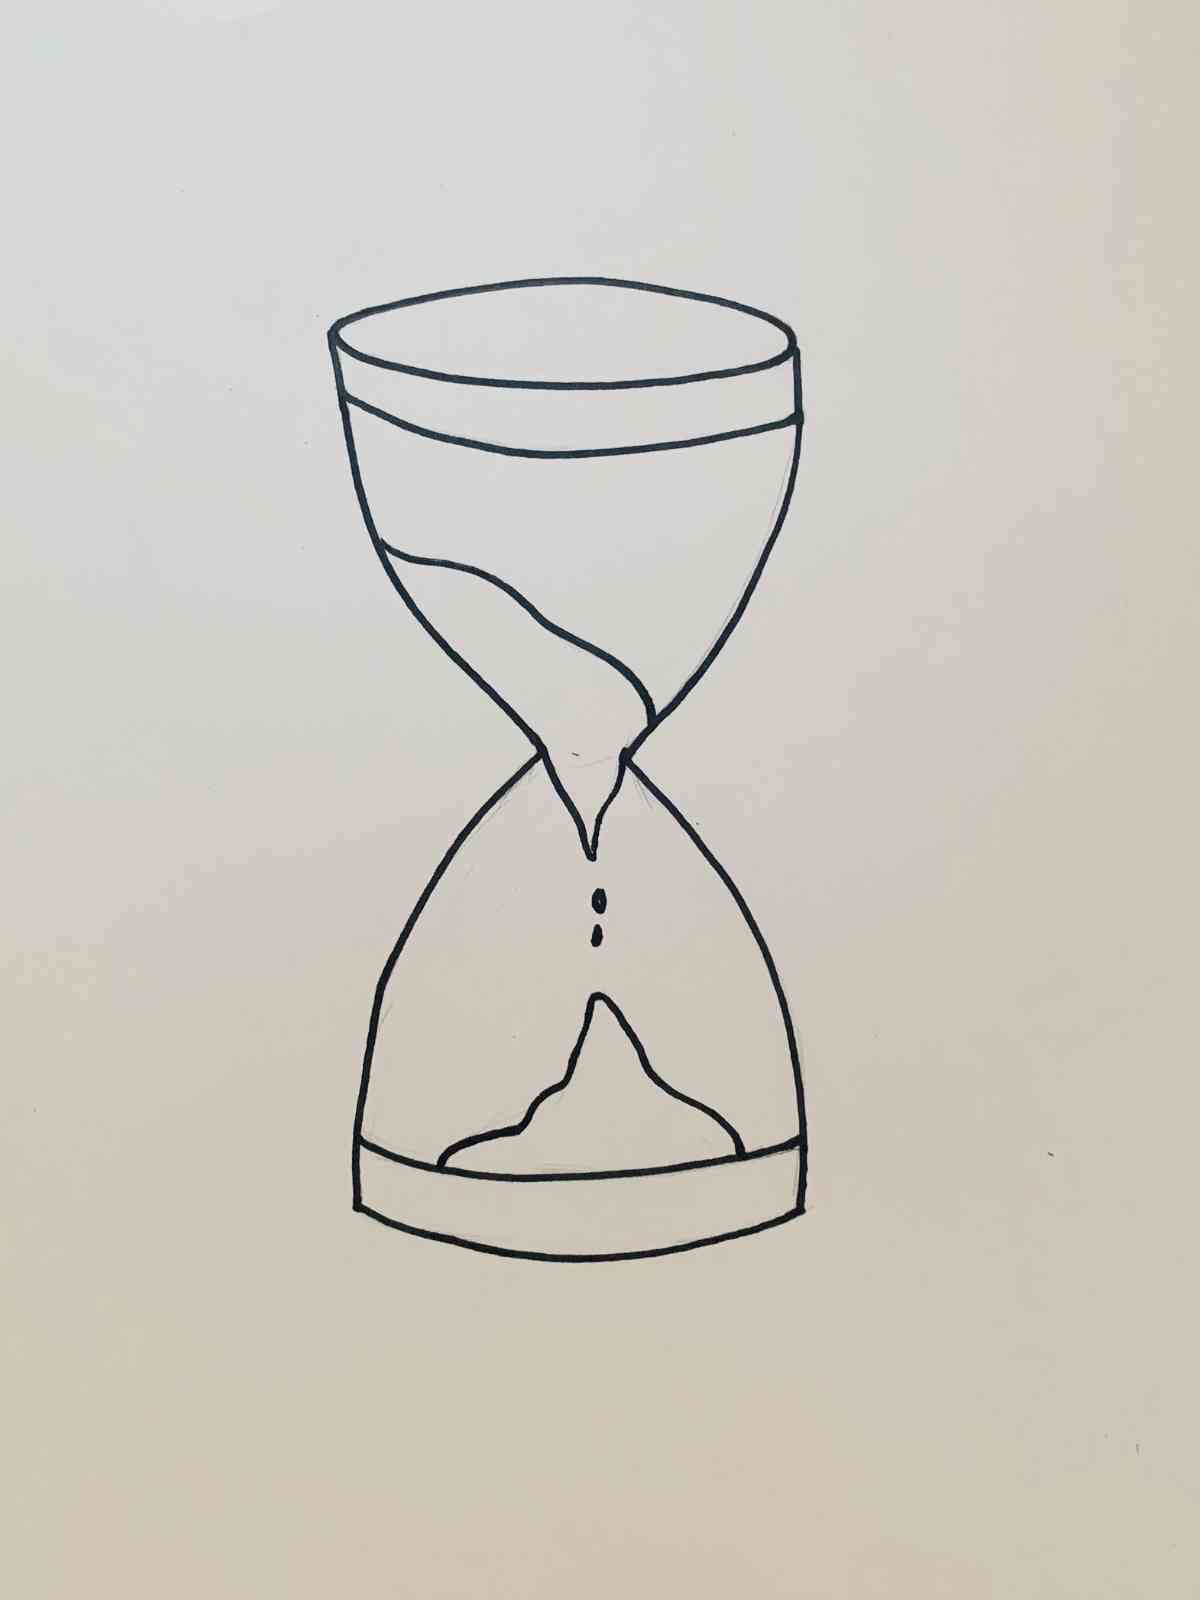
6. Add the sand, some in the top area and some in the bottom. It will pile up like a small mountain.

7. Outline all the pencil lines. Maybe add a few pieces of sand between the areas.
8. The best step: COLOR! Add any colors you chose!
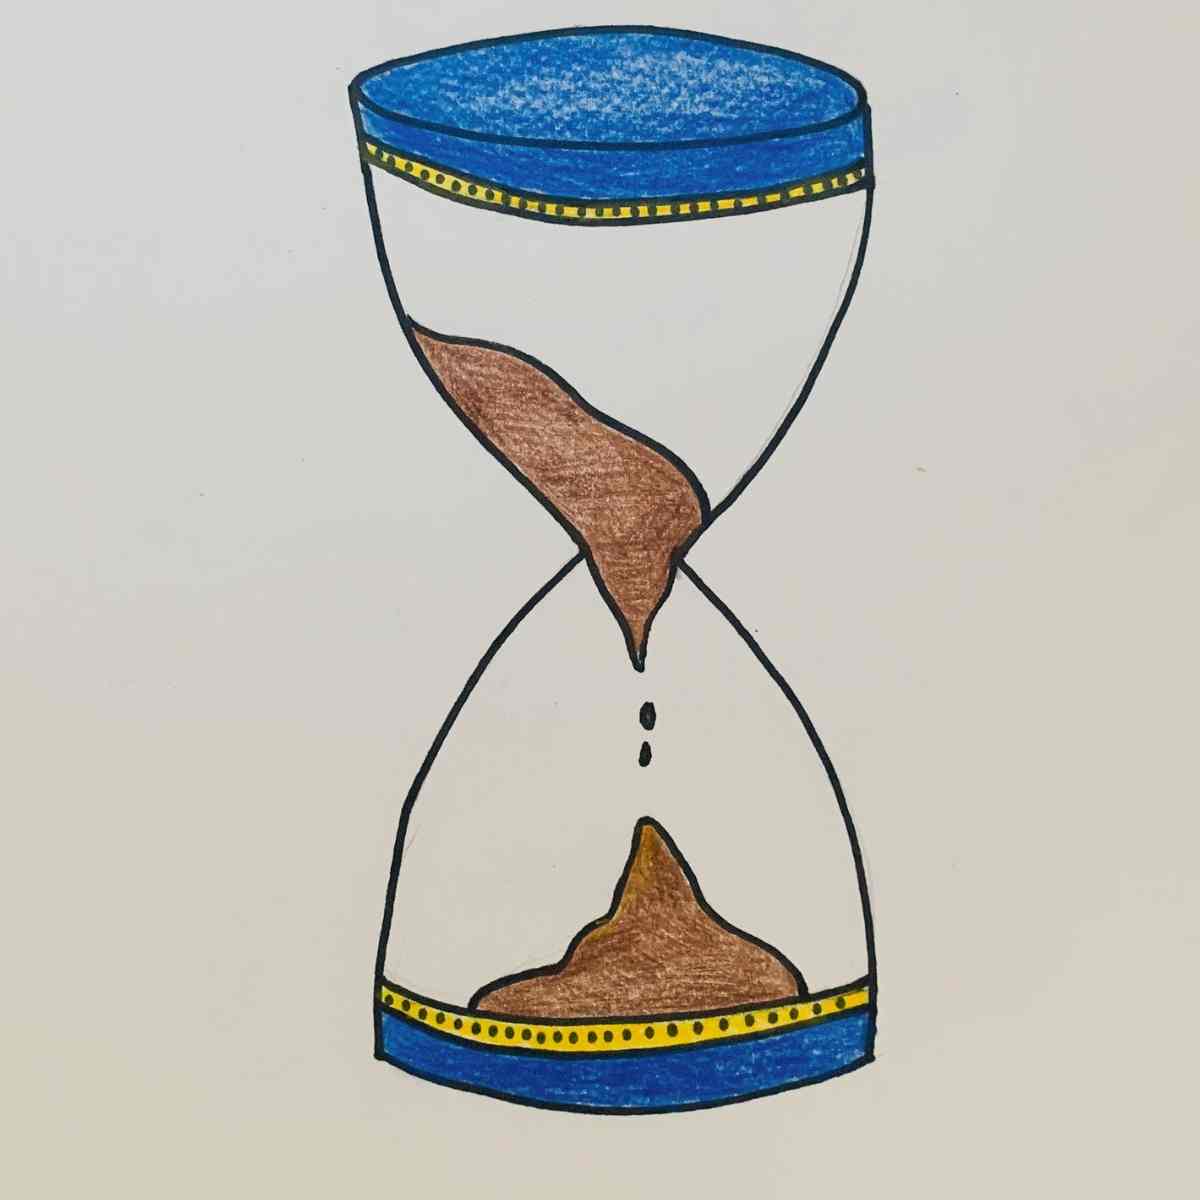
This hourglass is so easy to make your own, add carvings or make the end pieces thicker! It’s up to you, Artist! Perhaps you’d like to add some swirls, or even a word or phrase. How about “Time waits for no one”.
That one is pretty cool.
Want to keep working on those drawing skills? How about you try learning to draw a Shell or maybe a Ferris wheel?